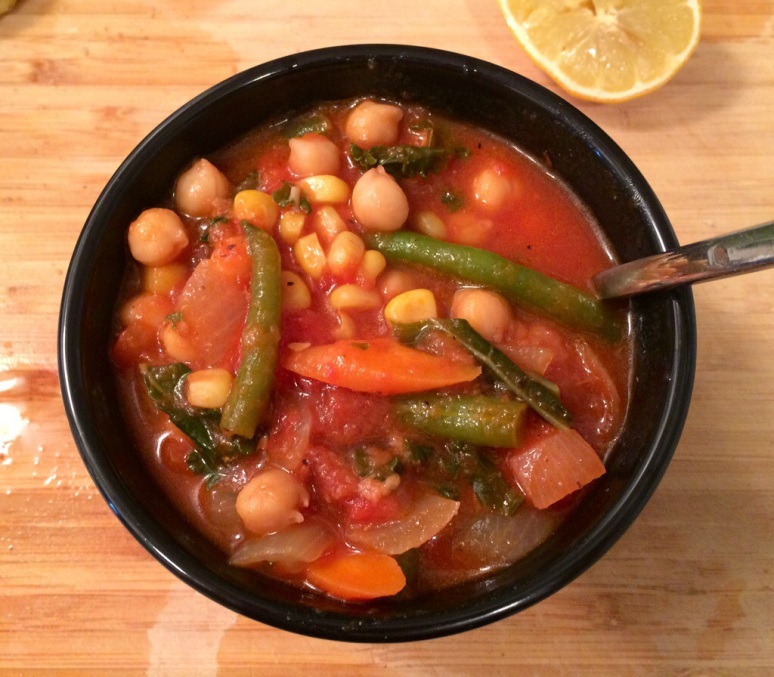
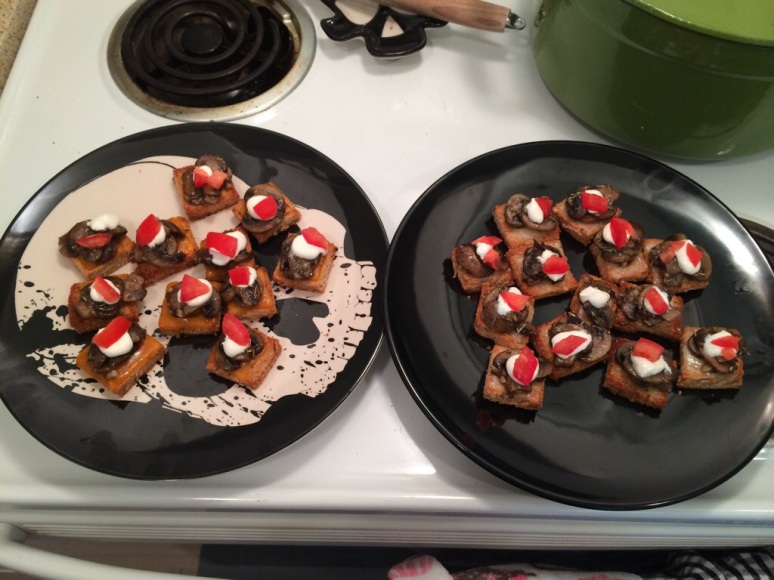
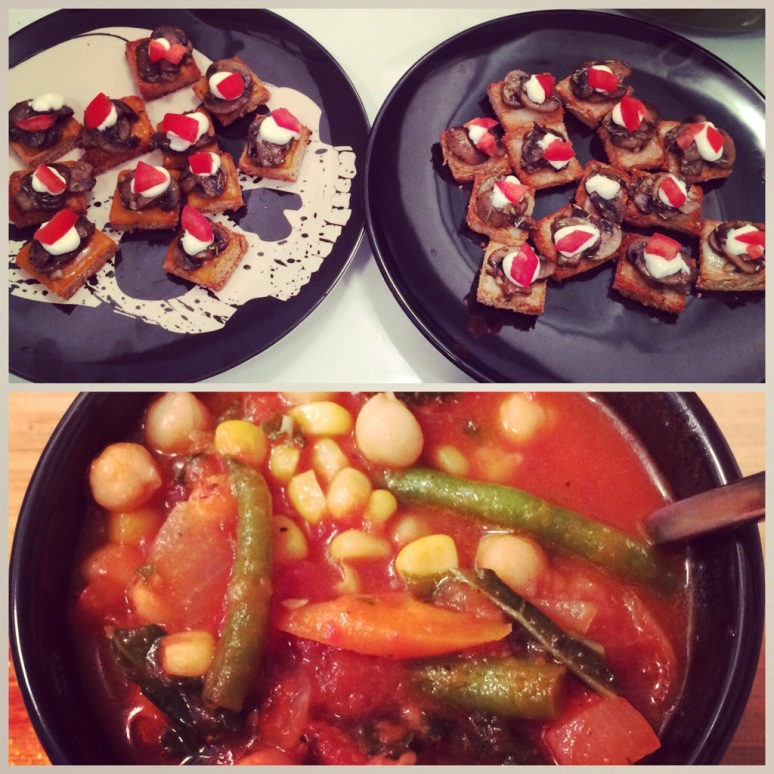
Rosemary, garlic and mushroom crostini with vegetable smorgasbord soup
I know it’s been a while since I’ve posted. But it is worth waiting cause this crostini and soup combo is so delicious! You’re going to love making it and often 🙂
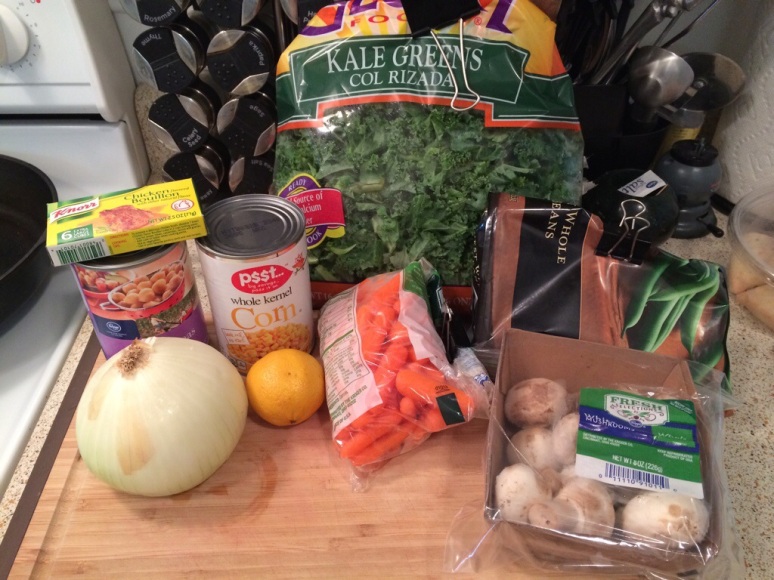
Ingredients for soup:
1 medium onion – chopped
1 cup carrots – chopped
2 cloves garlic – minced
1 lemon
1 sm bag frozen green beans
1 lg. can of diced tomatoes
1 reg. size can corn
1 reg size can garbanzo beans
2 cups fresh kale (your preference)
1 tab chicken or vegetable bouillon
2 cups water (as needed)
2 tbs canola oil
Pinch rosemary, fennel & red pepper
Salt & pepper to taste
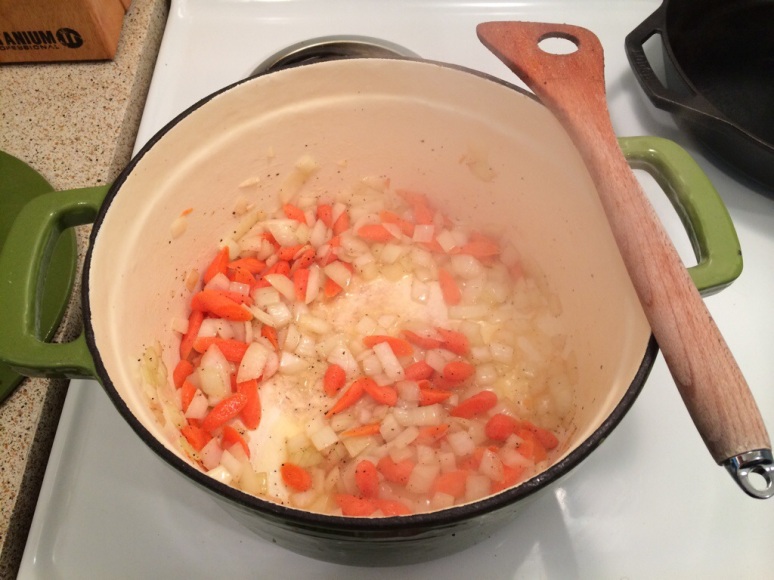
Begin by heating up some canola oil over medium high heat on a large Dutch oven. Throw in carrots and onions add pepper and a pinch of salt and let sauté for 5-7 minutes or until translucent. Add garlic and sauté another 2-3 minutes.
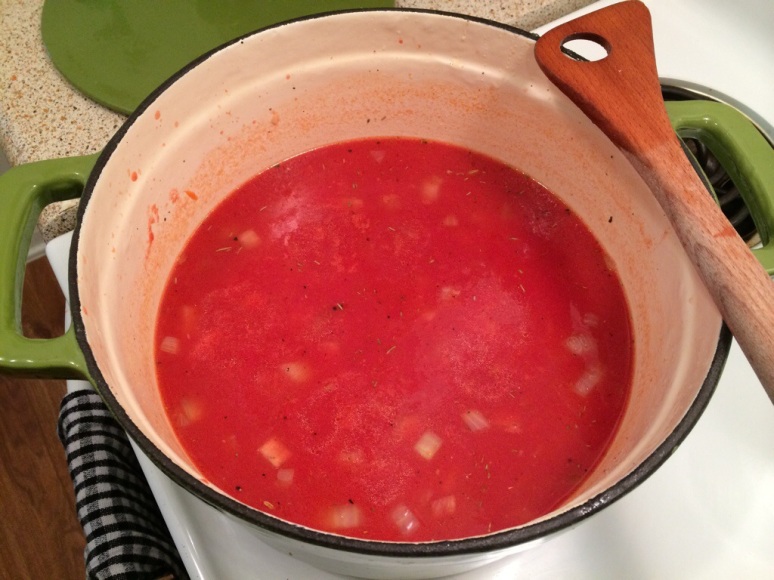
Now pour diced tomatoes, bouillon and water and bring to a almost boil…
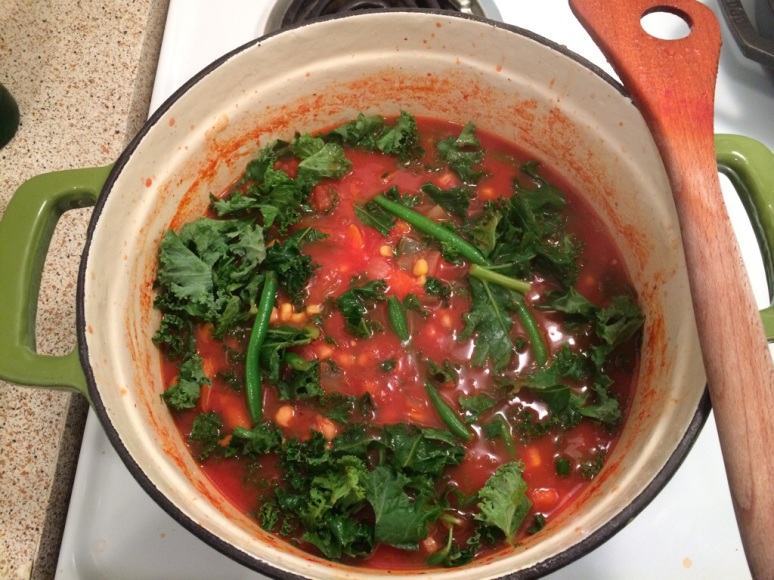
partially cover and cook for 12-15 minutes to allow the flavors to intensify and reduce a little. Now add the garbanzo beans and corn and cook another 7 minutes. Add all other vegetables and juice of 1 lemon and all spices.
Add salt to taste. Allow to cook another 10 minutes. Remove from heat and ready to serve!
Ingredients for mushroom crostini:
4-5 slices of sandwich bread
15-20 white mushrooms sliced
1 1/2 tbs rosemary minced
2 cloves garlic chopped
1/2 tomato diced
1/4 cup sour cream
1/4 cup veggie or chix stock
Salt, pepper
Olive oil
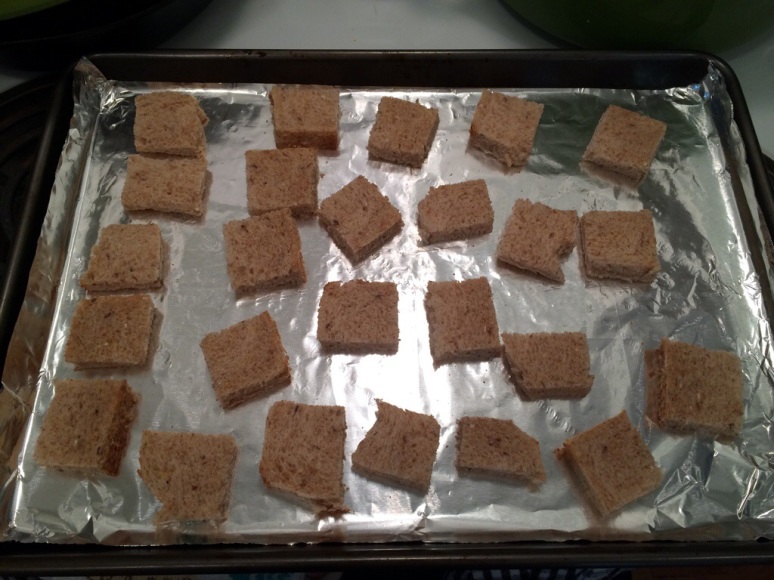
Begin by preheating oven to 250 degrees. Cut the crust off the bread and cut each slice into 6 pieces per slice. Lay pieces out on a cookie sheet.
Next brush each piece with olive oil and sprinkle each piece with cracked pepper. Place in oven for 18-20 minutes or until bread turns into almost a crouton texture.
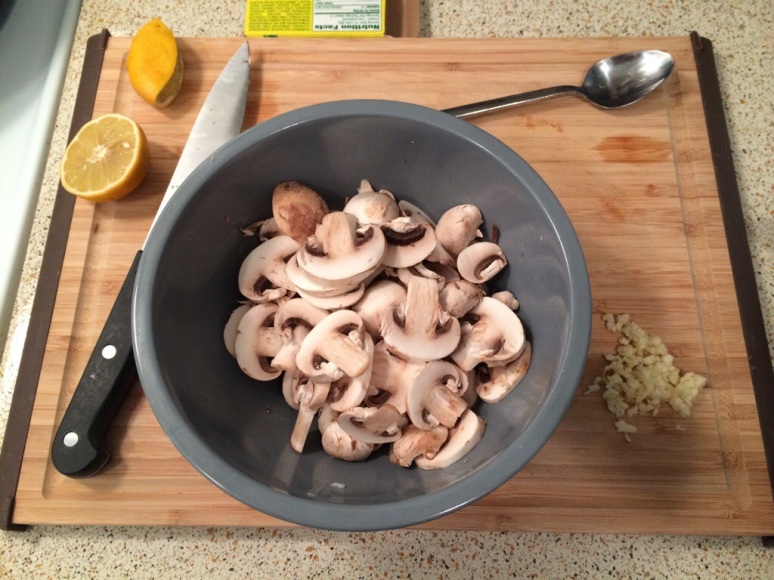
Slice mushrooms and garlic…
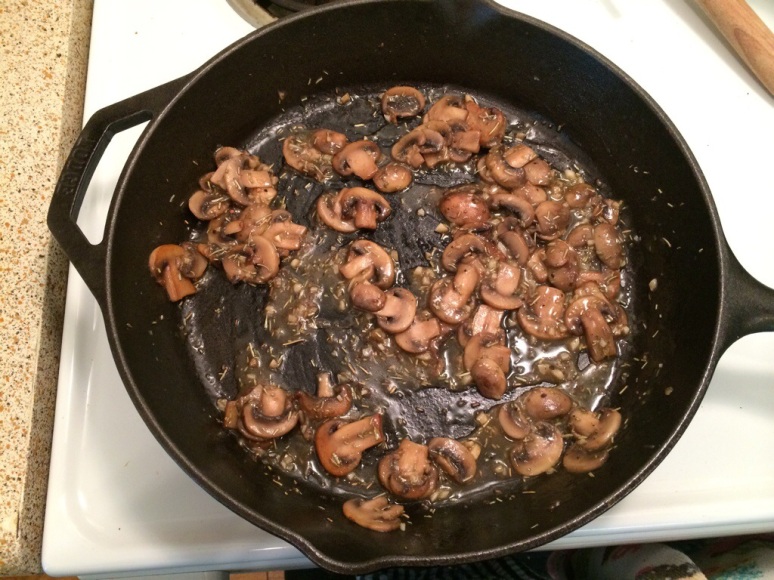
over a skillet heat olive oil and sauté mushrooms, garlic, stock and pepper, except salt…save that to the end. Also only add as much stock as needed. Don’t add too much liquid. Sauté mushrooms for about 15 minutes and remove from heat.
Now it’s assembly time, the fun part. I create a little assembly line…by first layering mushrooms on all pieces, then a dollop of sour cream, then topped with tomatoes.
And feel free to play around with toppings. It’s great to create variety! Everyone loves these little treats! Great to do with friends or to get kids involved in the kitchen.
Hope you all enjoy this easy, simple yet delicious vegetable smorgasbord soup and rosemary mushroom crostini 🙂
xoxo
Halloween Pepper O’ Lanterns
As you all know, this is my favorite time of the year! So many beautiful colors…the cool chill in the air. And of course, all the wonderful aromas coming from your kitchen. Warm cider, pumpkin pie, playful cookies and of course Halloween Pepper O’ Lanterns! My adorable play on stuffed peppers. Made them for Jason and I last night and they were super festive and scrumptious, too!
Here’s the how to:
Ingredients:
Halloween Stuffed Peppers:
• 4 Bell Peppers (orange preferred)
• 1 medium Red onion chopped
• 4 cloves garlic chopped
• 1lb chopped meat
• 2 ounces sharp cheddar cheese
• 4 ounces parmigiano reggiano cheese grated
• 1 tbs pepper flakes
• 1 tbs salt
• 2 tbs black pepper
• 2 tbs canola oil
• 1 tsp dry fennel, rosemary, oregano and basil
Pasta and Sauce:
• 1 box Ditalini pasta
• 2 jars pasta sauce of preference
• pinch of salt and pepper
I always like to begin by prepping all my ingredients. It helps make for smooth and organized cooking. Which translates to a less stressful and pleasant experience, which you can taste in the end. Side note, some bell peppers are very long and won’t actually stand up correctly in the oven, so it’s a simple fix, just cut out a little from the middle and chop to add into the ground beef mix.
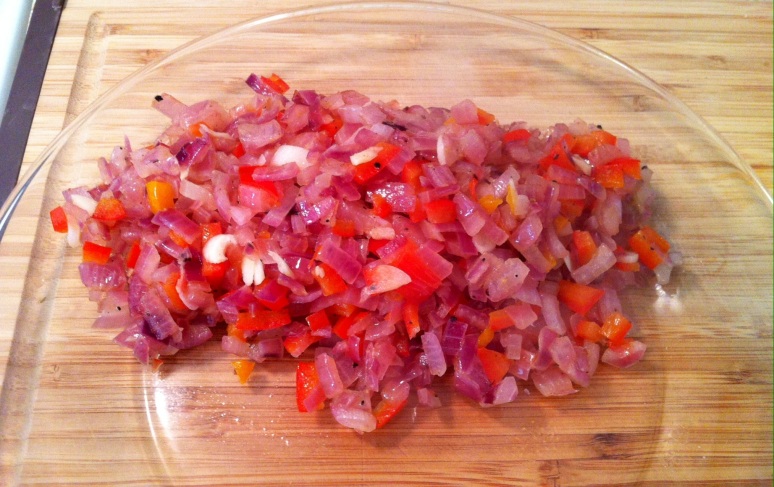
Firstly, chop up the onion, garlic and any excess peppers.
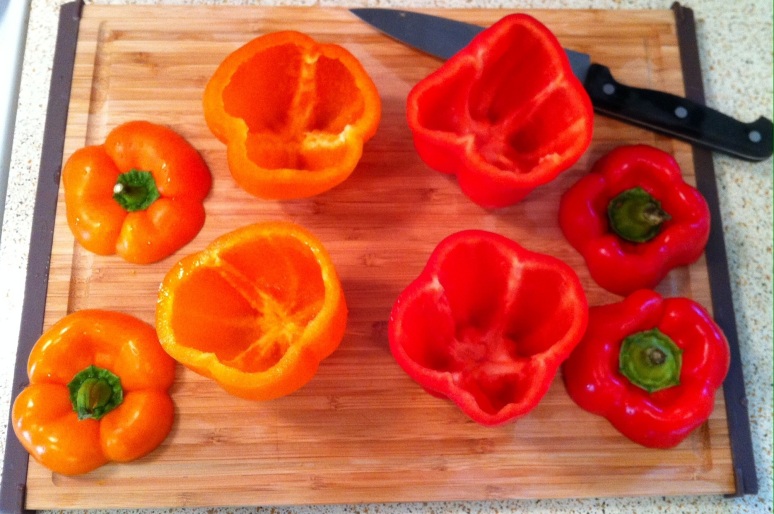
Next it’s time to perform your bell pepper lobotomies. Decapitate and scrape out the core and seeds from all the bell peppers.
And now it’s time to carve out the faces. With a sharp knife, carefully carve out your little faces on each bell pepper.
They look so cute all together, I just love these! Once done, set to side.
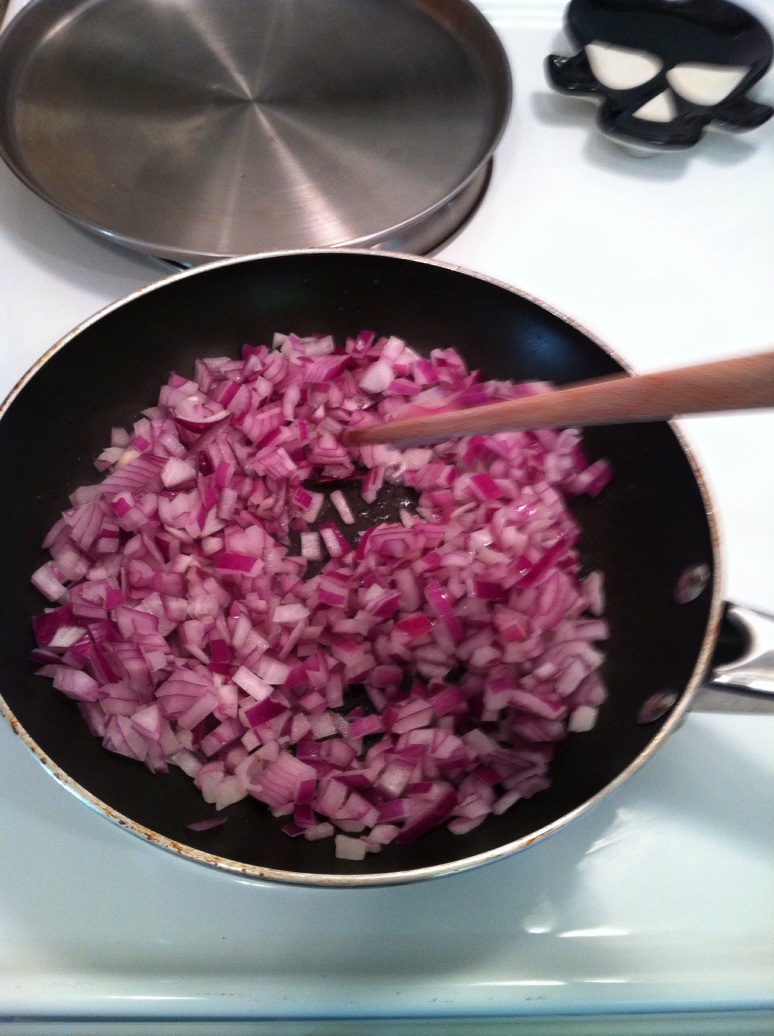
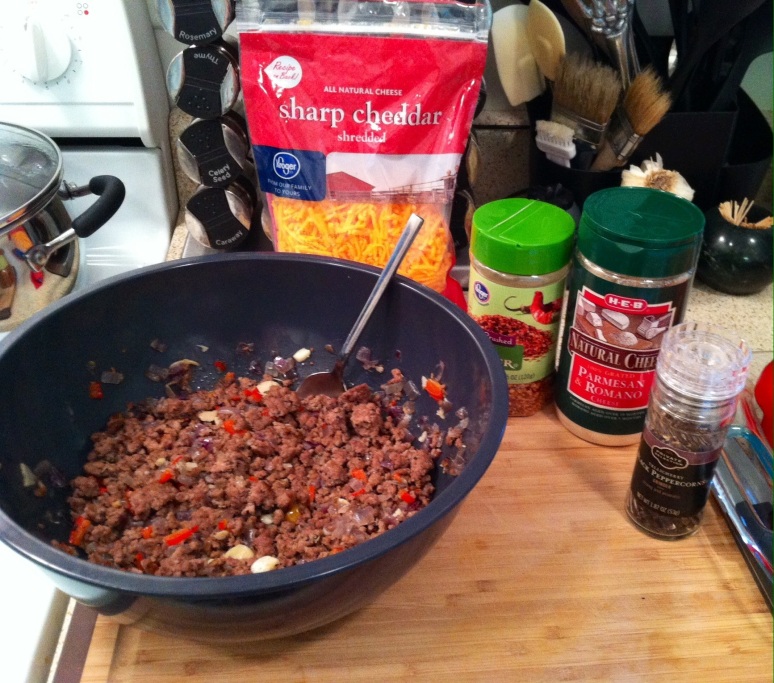
Now lets begin with the aromatics for the ground beef. Our objective is to achieve a similar taste to sausage. Firstly heat canola oil in almost high heat and throw in your onions.
After 2 minutes or so add the red peppers…cook through for approximately 4-5 minutes.
Then add half the garlic. The rest will be used when cooking the ground beef. Let the veggies saute until they are translucent in color, about 7-10 minutes.
place on a side dish for use later.
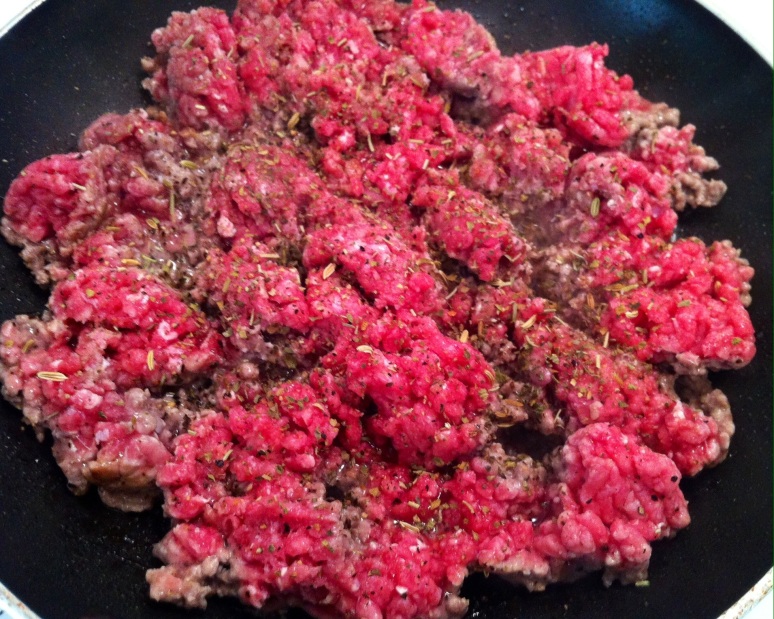
On the same pan, over high heat, add the ground beef. Careful to not over mash it, let it sear on one side before flipping or moving it. Add all the dry spices, remaining garlic and a pinch of salt and pepper. Cook for an additional 7-10 minutes or until cooked through.
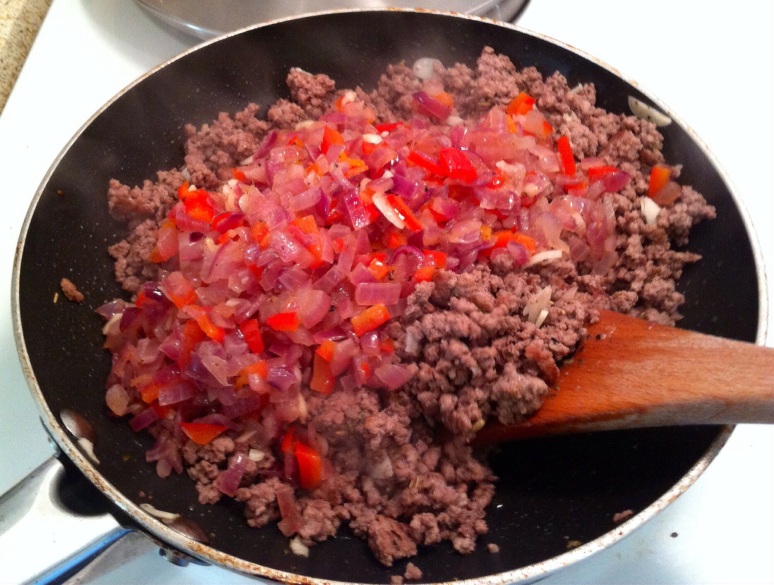
After searing and cooking off most of the ground beef, add the onion, pepper, garlic and stir frequently. Taste and add salt and pepper to taste.
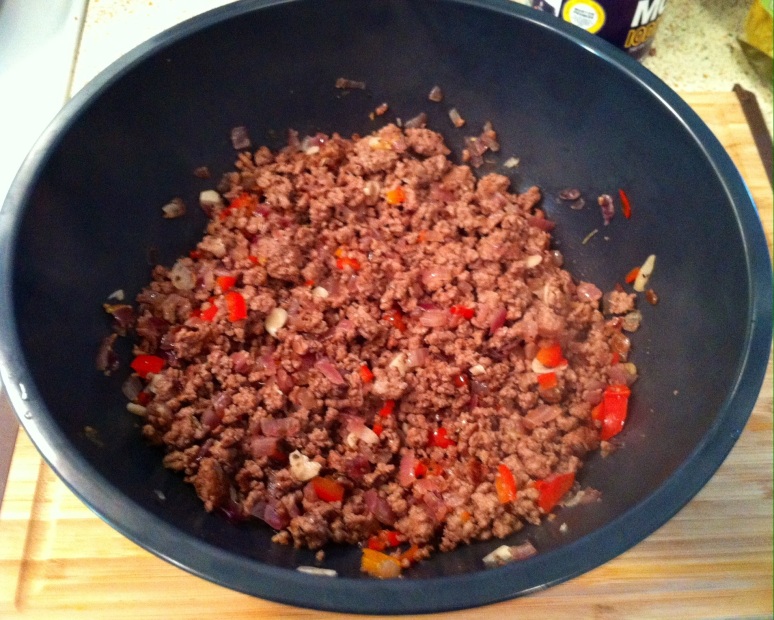
Set to side to cool for roughly 15 minutes. You want it to cool down before adding the finishing ingredients.
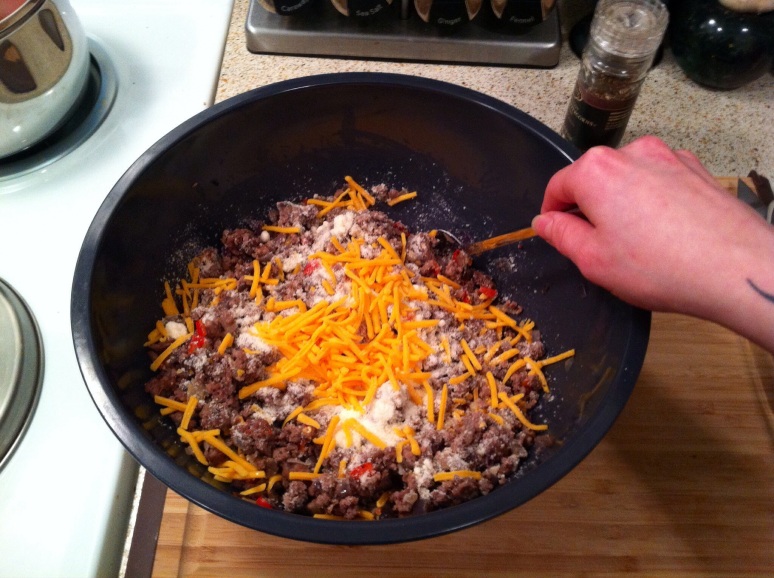
After 15 minutes add the cheddar cheese, parmigiano reggiano, red pepper flakes and pepper.
Mix well.
Now it’s the fun part! Stuff all your peppers! Over stuff ’em! Go for it! 😀
Place into a 350 degree oven for 20-25 mintutes, or until the suckers look nice and hot!
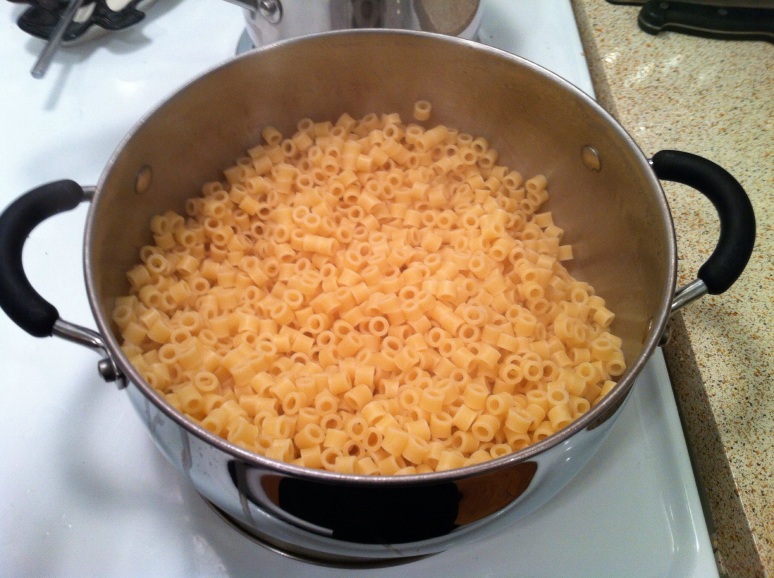
Cook your Ditalini.
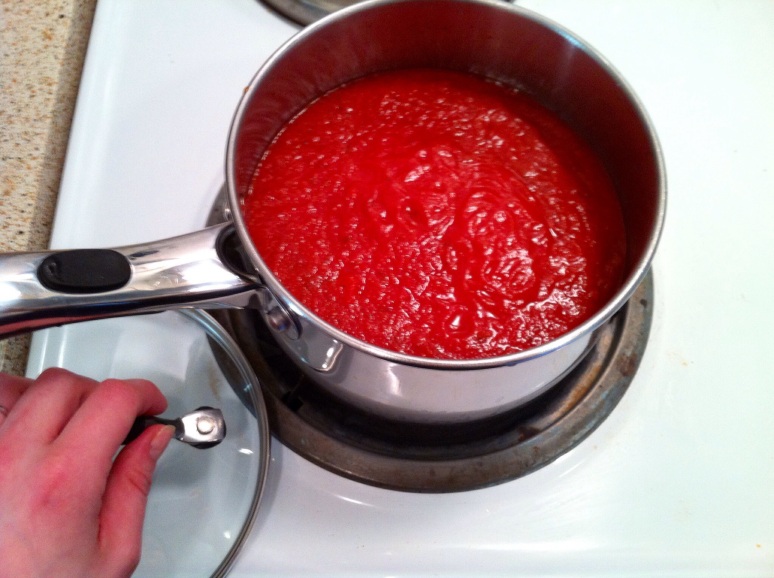
Heat up the pasta sauce.
Look at these S.O.B.’s!! Haha they are just so cute to me! Hope you guys love them as much as I do!
I plated them in the center of the the pasta and sauce. Jason just loved this!
This was mine, I gave him a bit more of a wicked look!
I just love Halloween, it’s such a fun and colorful holiday. Brings such warmth and love into my heart. And who doesn’t love a little mischievous, silliness this time of the year! Please share my recipes and feed back is oh so welcomed!
Hope you all have an awesome and magnificent Halloween! HooooooooowwwwLLLLL!!!!
Buffalo Chicken Thighs, Smashed Cheddar, Bacon, Jalapeño, Red Potatoes and Caesar Salad
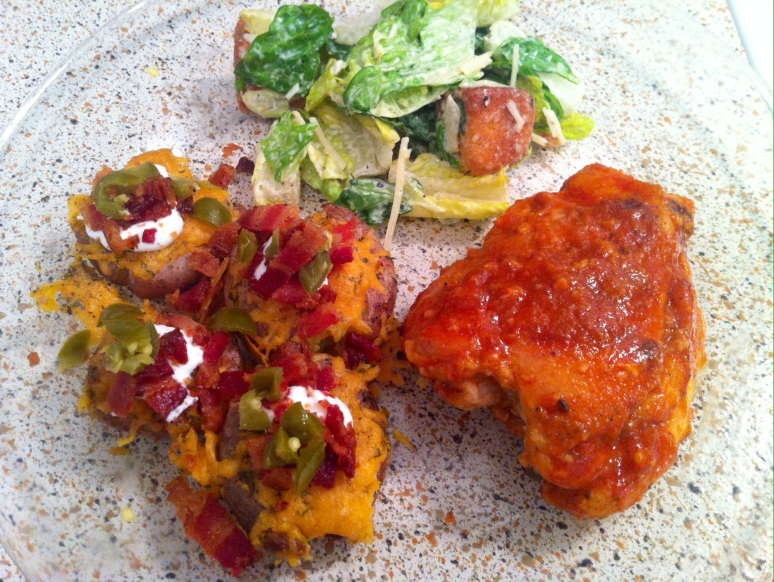
Here is a major dinner winner! Who ever you make this for, I bet you will have seconds. Today we are making skinless buffalo style chicken thighs, smashed red potatoes topped with melted cheddar, bacon bits and jalapeños. Accompanied by a delicious Caesar salad. Nom nom nom!
Ingredients:
Buffalo Chicken Thighs
• 4 bone-in skinless chicken thighs
• 1/2 cup flour
• 3 tbsp salt
• 2 tbsp pepper
• 1 tsp cayenne pepper
• 2 tbsp garlic powder
• 2 tbsp onion powder
• 2 tbsp paprika
• 1 ounce Louisiana Hot Sauce
• 1 tsp Sriracha sauce (optional)
• 4 tbsp canola oil
Smashed Cheddar Red Potatoes w/toppings:
• 1 bag small red potatoes
• 1 bag sharp cheddar cheese
• 1 pkg. sliced bacon
• 1 jar pickled jalapeños
• 1 bag Caesar salad (cheat a little) 😉
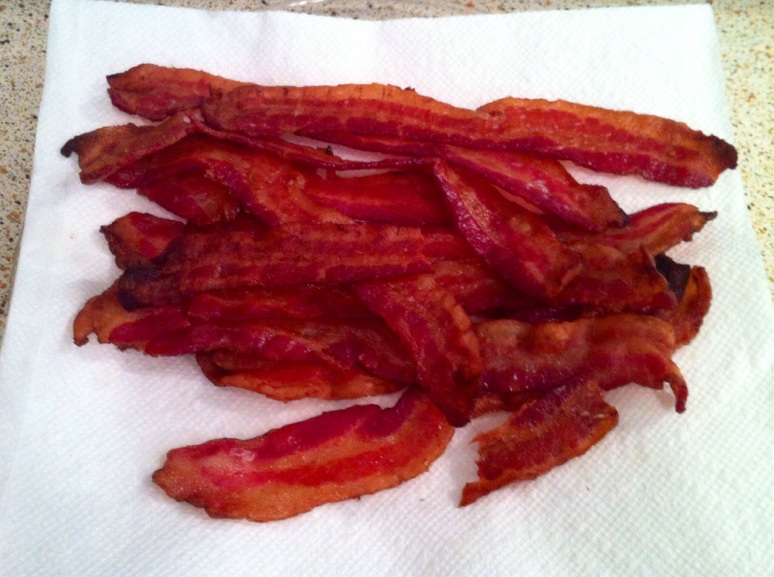
Begin by laying sliced bacon flat on a baking rack and placing into a 375 degree oven for approximately 13-17 minutes or until nice and crispy. Check periodically, all ovens are different. Half way through cooking, rotate the bacon so it cooks as evenly as possible.
Once done, place bacon on a paper towel covered plate to drain excess oil and set to side.
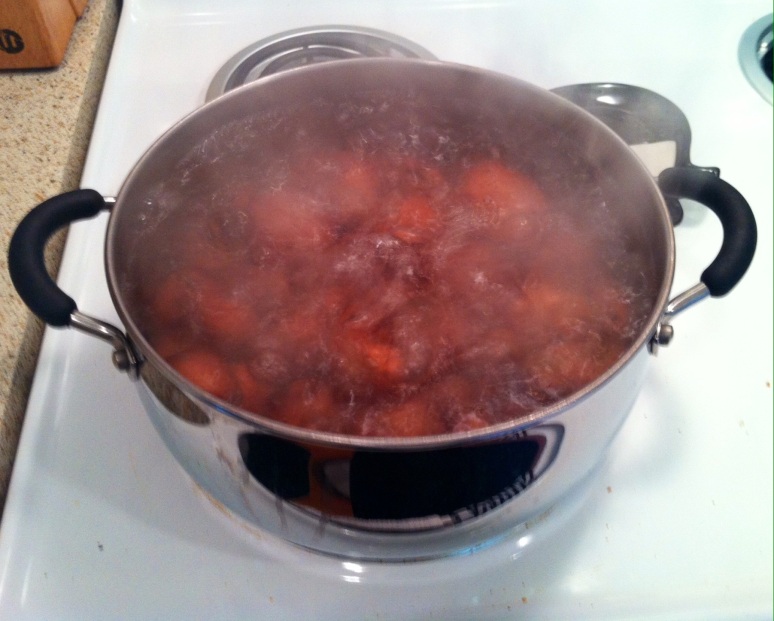
In a large pot, par boil your potatoes. So about 5-7 minutes of boiling. Use a fork to check their doneness. The fork should puncture the skin but not go through easily. You want them a little over halfway done.
Once par boiled, drain off and place them on a baking sheet, you will need two. With a heavy object, I used a beer mug, gently smash each potato.
Next, top each smashed potato with sharp cheddar cheese. Mmmmmm CHEEEEEESSSSE!!!
Pop cheesy potatoes into a 350 degree oven for roughly 12-15 minutes. Or until cheese is melted over the potatoes. Tasting is always a good idea.
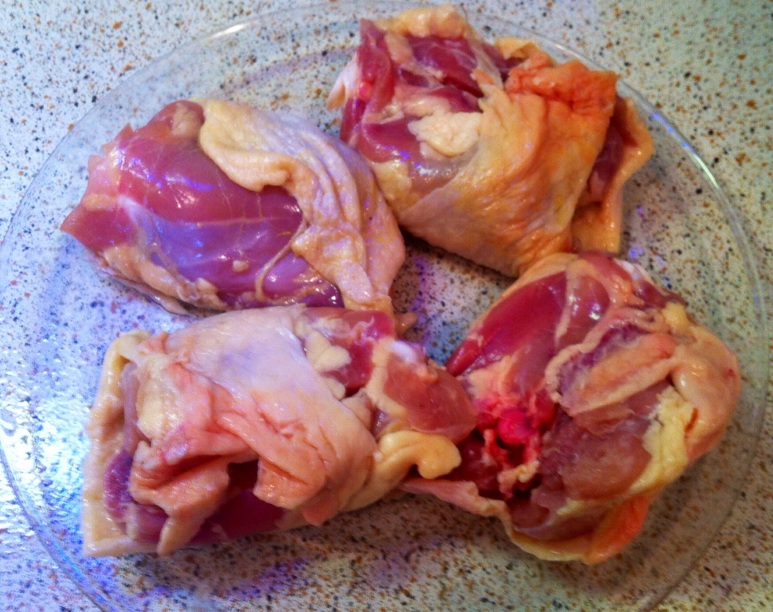
Let’s move on to our chicken. You can buy them skinless already or with skin and remove it yourself, as I did. What can I say, I’m a glutton for punishment.
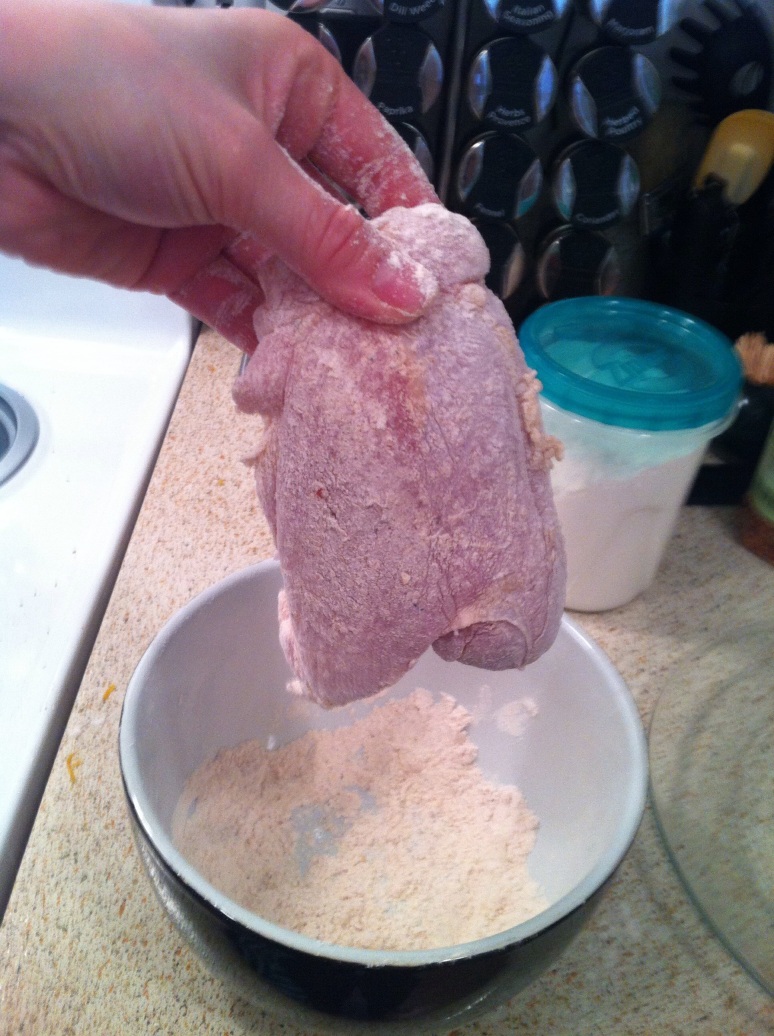
Rinse and pat dry your chicken. Set to side. Now let’s prepare the dredge. Pour flour and all dry spices into a medium size bowl and mix well.
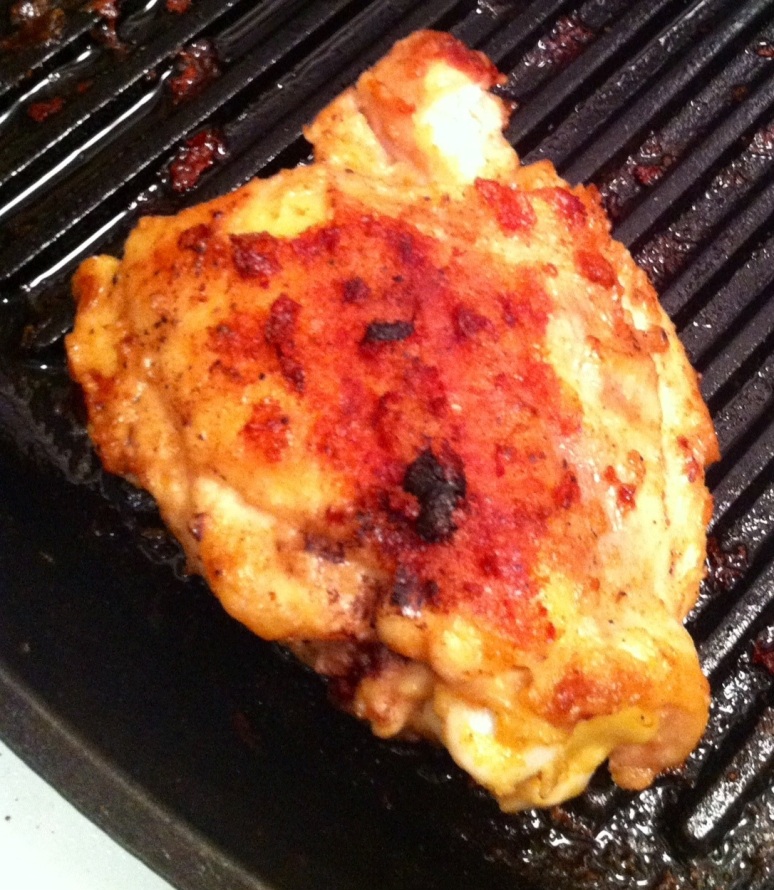
Prep your station. Heat canola oil in large griddle pan on med-high heat. Tongs a very useful for this. Next dredge your thighs and place on griddle pan, smooth side down.
Do not move chicken thighs! You want to hear a loud sizzle and let it get a nice, golden brown crust. So not moving them is crucial at this point.
Let them go for about 8 minutes. If it’s too hot, take it down a little. Once they lift up easily and are golden brown flip and cook for an addition 12-15 minutes. About 7 minutes in I place a lid over the pan to make sure it cooks through.
Reduce to medium heat. Always check for doneness. (Pardon the blurry shot, but you get the idea)
Once done, let them rest for 5-7 minutes.
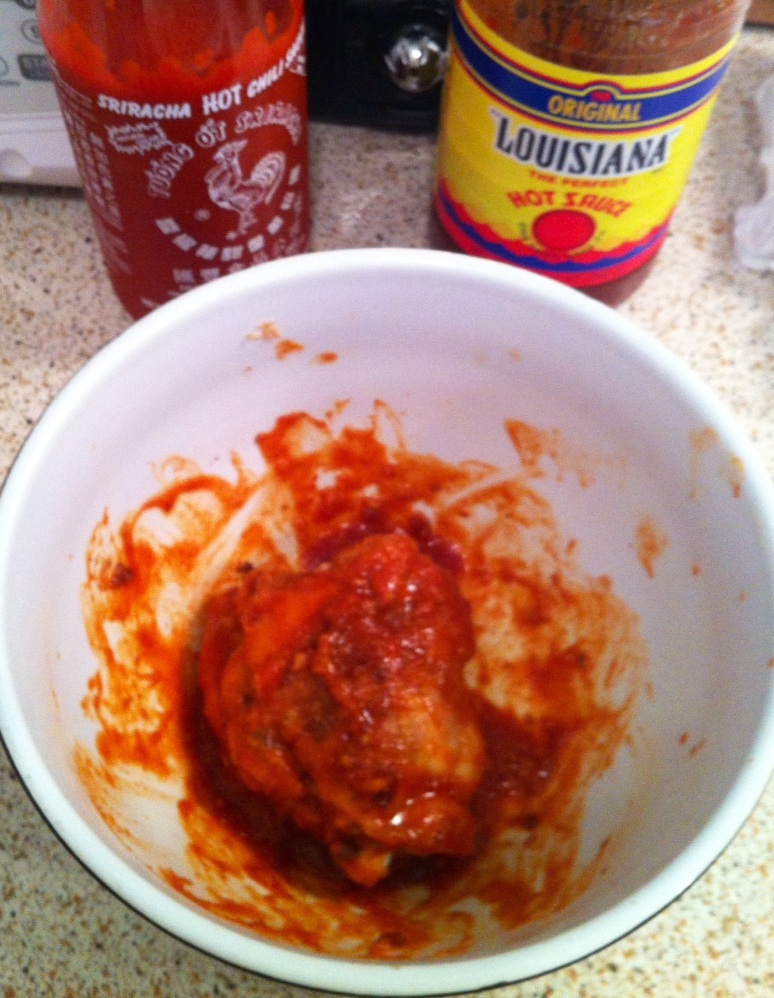
It’s buffalo time. In a medium size bowl mix the hot sauces together and using your tongs, coat the chicken thighs, well.
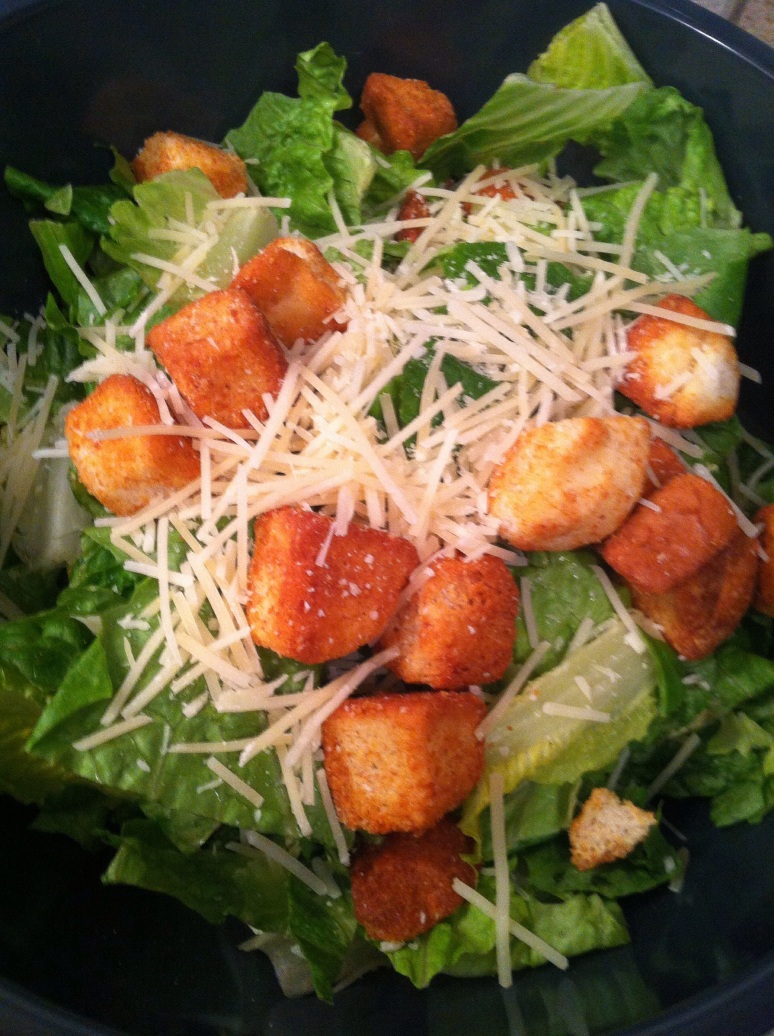
Quickly assemble your Caesar salad
Chop up your bacon and jalapeños. Top your potatoes with the bacon and jalapeños and plate.
BAM!!! You’ve got a fabulous, delicious, mouth watering dinner that will definitely have them coming back for seconds!
I hope everyone tries and enjoys these recipes! It’s perfect for anything from a family dinner to a party or picnic! Please share and feed back is welcomed and much appreciated! xo
My Indoor Barbecue Feast
Hi friends! Wow, do I have an awesome one for you guys today!!
I’m a huge food porn lover and photographer! I absolutely LOVE cooking up a storm in my kitchen…I put on some good music, sip a little wine and snap photo after photo. Haha. Always so much fun and relaxing. I am a true believer that cooking is therapeutic for the heart, mind and soul. As a little girl, I still remember playing on the kitchen table as my grandmother would fill the house with all the delicious aromas from her cooking. She’d tell me all sorts of stories and teach me a thing or two about cooking. Thank you grandma.
So recently I was looking through my library of food porn albums and this delicious, barbecue extravaganza caught my eye and made my mouth water too. I just knew, this is the next recipe blog I HAD to write! I hope you all enjoy it as much as we did!
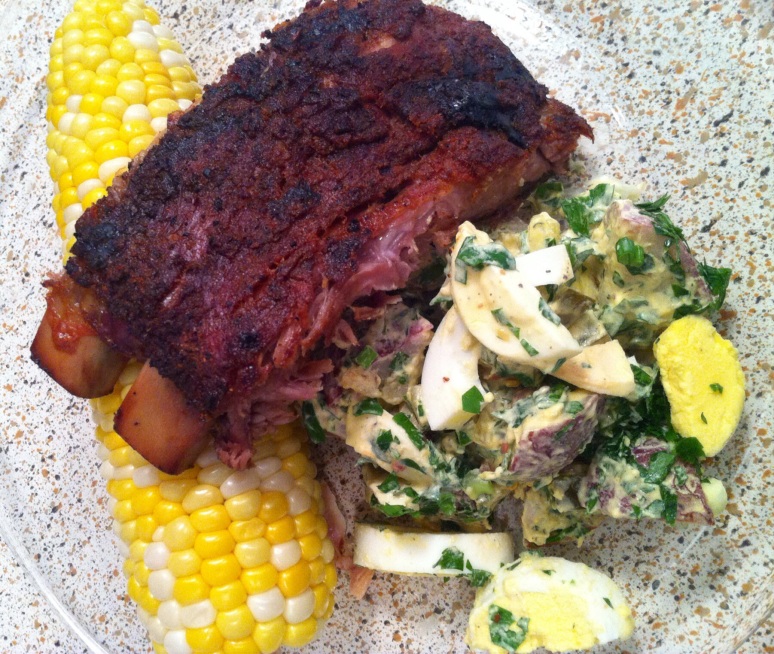
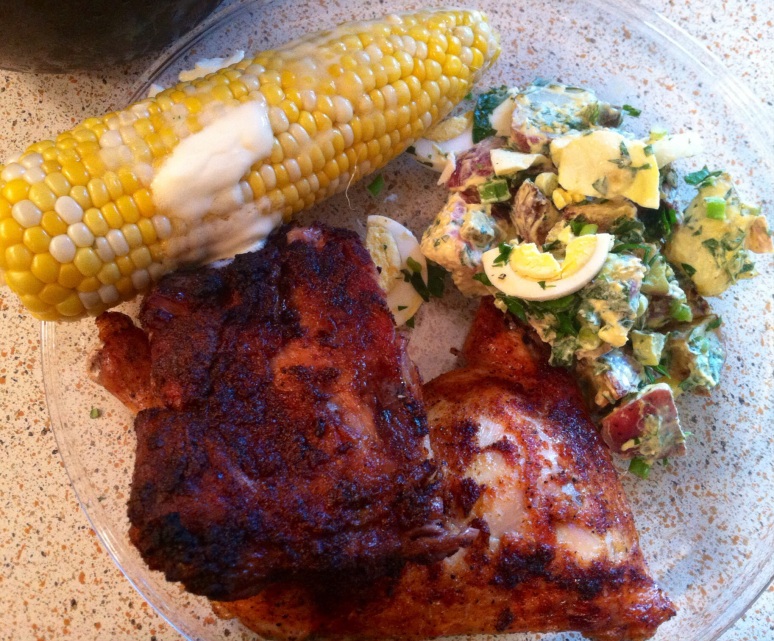
The feast: Slow roasted, dry rubbed pork ribs and chicken, potato salad and corn on the cob. Mmmm mmmm, that’s what I’m talkin’ ’bout! 🙂
Ingredients:
Chicken and ribs:
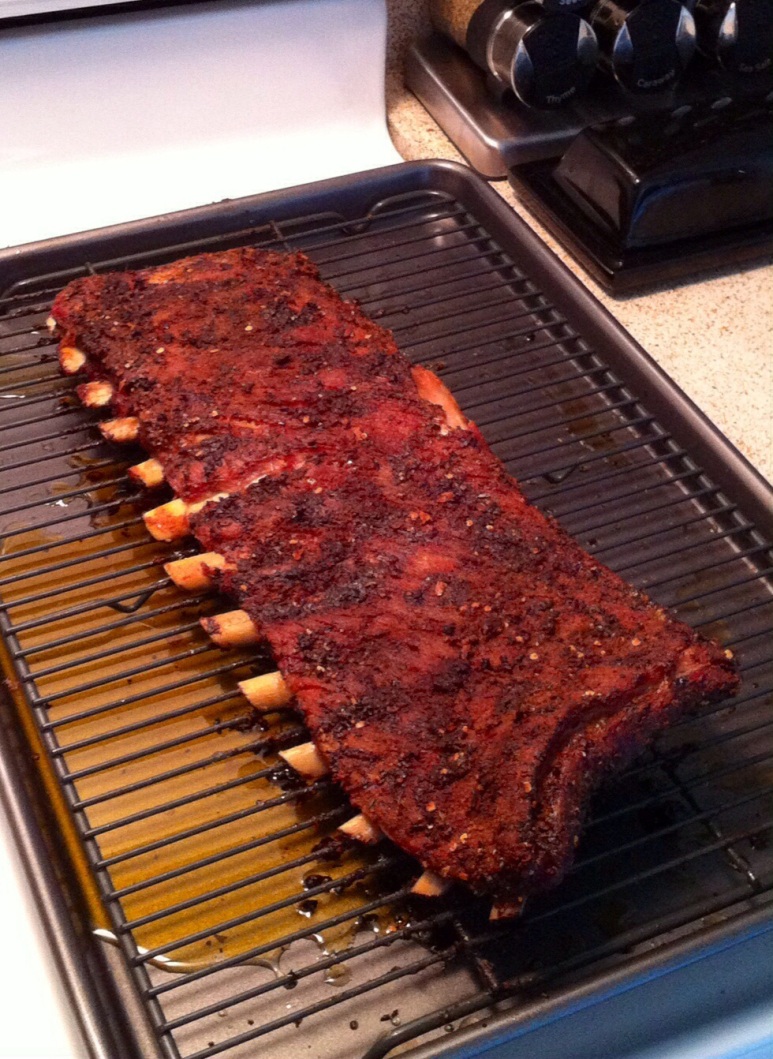
• 1 rack pork ribs
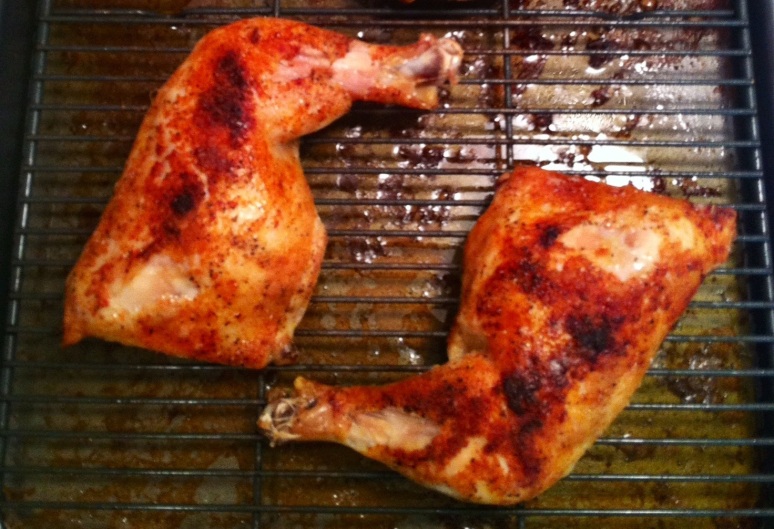
• 4 skinless chicken legs (whole)
Dry rub:
• 1 tsp cayenne powder
• 4 tbsp paprika powder
• 4 tbsp garlic powder
• 4 tbsp onion powder
• 2 tbsp brown sugar
• 2-3 tbsp salt
• 4 tbsp ground pepper
• 3 tbsp dried parsley
• 1 tbsp dried rosemary (chicken only)
• 3 tbsp olive oil
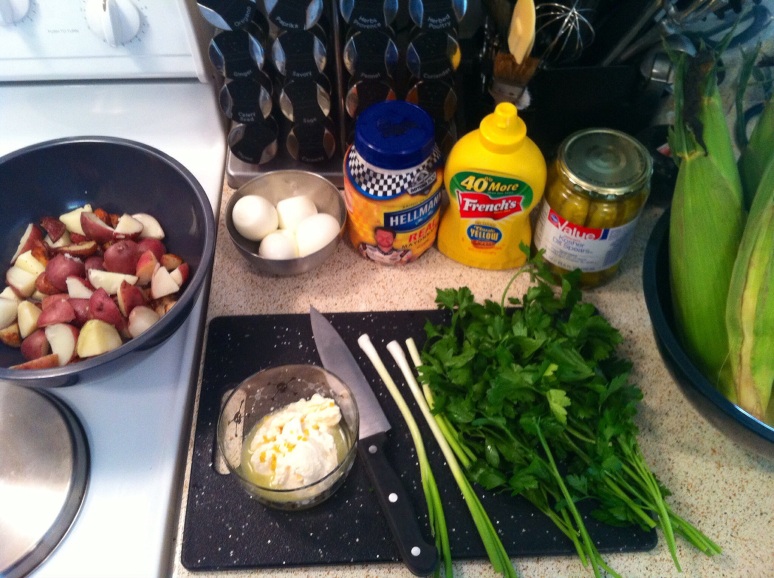
Potato Salad:
• 4 eggs
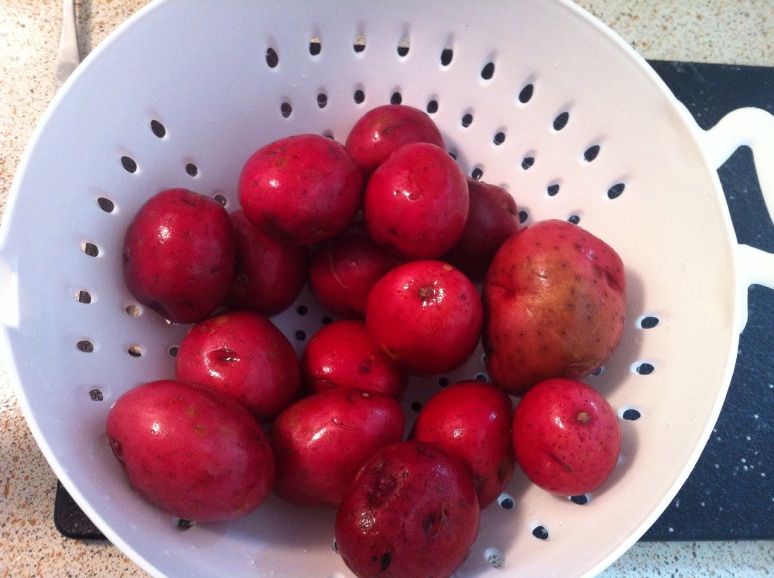
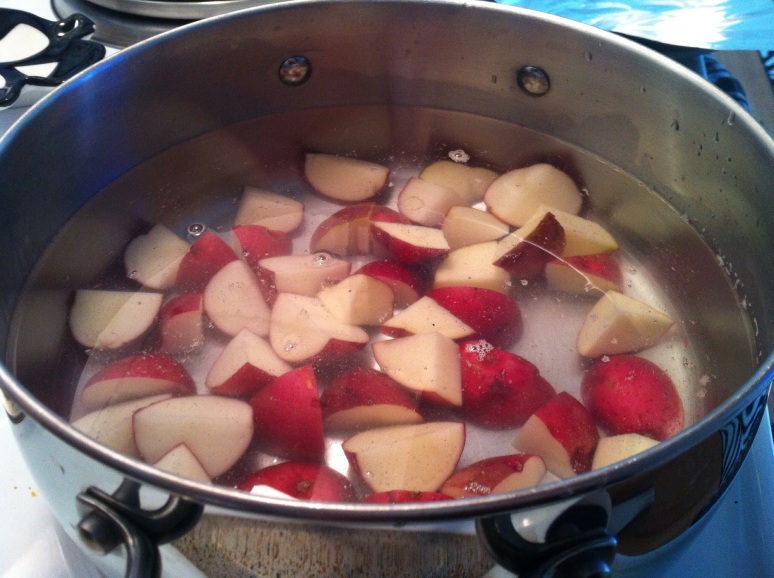
• 16 sm-med red potatoes quartered
• 3/4 cup mayo
• 3 tbsp yellow mustard
• 5-6 pickle spears chopped
• 2 ounces pickle juice
• 3-4 scallions chopped
• 1 bunch parsley chopped
• 1 tsp garlic powder
• 1 tsp dried mustard powder
• 1 tsp dried dill
• 1 pinch salt and pepper
Corn
• 6 ears of corn in husk
• 1 tbsp salt and pepper
• 6 tbsp butter (optional)
The ribs and chicken are roasted at a low temperature, so they’ll take much longer to cook. So let’s start there!
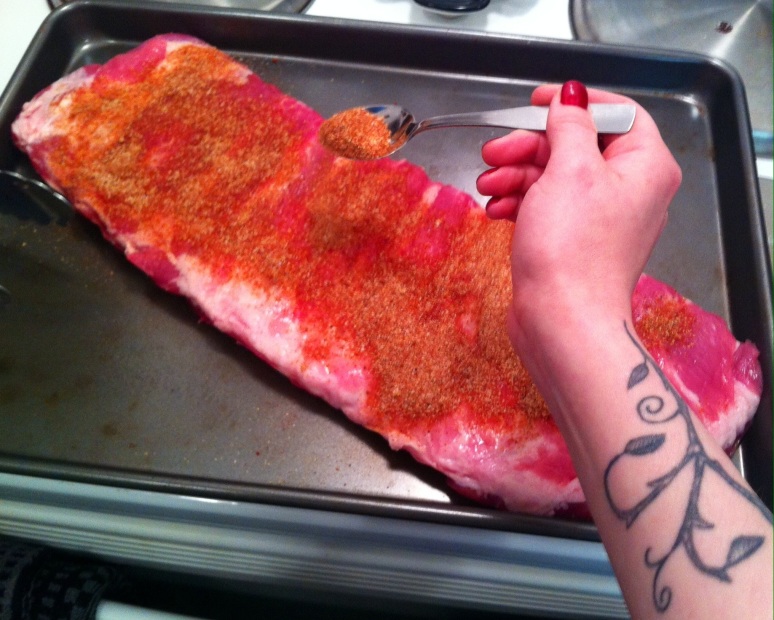
Preheat oven to 325 degree. And on 2 separate roasting pans place your ribs and chicken legs and rub them all over with the olive oil. Like a mini meat massage before they get dry rubbed. This helps to ensure the dry rub really coats the meat. Set to side.
In a small bowl mix all the dry ingredients, (minus the rosemary) making sure to mix them well. Now pour a little less then half onto another bowl, add rosemary and mix well. We are now ready to rub. Begin with the ribs, really covering any nooks and crevasses. Cover with aluminum foil, sealing the edges.
Move on to the chicken, again really working it well into the meat.
You can also dry rub them the day before so it really works into the meat over night. But this works well like this too. Place ribs and chicken legs in oven and forget about them for 1 1/2 hour. Keep in mind the chicken will cook sooner than the ribs.
Time to get started on that awesome potato salad. In a small sauce pan boil 4 eggs.
And in a larger pot boil your potatoes. I always use a fork to check when my potatoes are done.
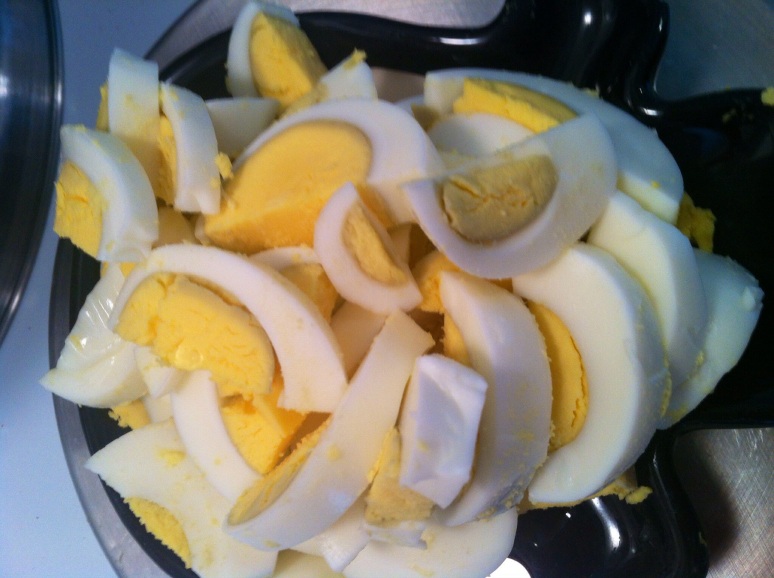
Peel and slice your eggs. I find it very helpful to have a glass of hot water handy to dip my knife in as I cut the eggs. That way you avoid anything from sticking to the knife and in turn tearing or smashing as you cut.
Now we make the potato salad sauce.
Take a medium size bowl and mix, mayo, yellow mustard, pickles with some pickle juice, half the scallions, half the parsley, dried dill, garlic and mustard powder, and a pinch of salt and pepper. Have a taste. If it needs more pickle juice or salt or mustard, adjust it to taste. But this combo usually nails it. Mix potatoes and sauce together, I use the same pot I boiled them in. Less dishes later is always a good thing. Once you’ve given them a good mix, throw in 1/3 of the boiled eggs. With a spatula gently fold ingredients. I do this to avoid mashing the eggs into nothing. Have a taste and adjust seasoning if needed. Pour salad into a pretty serving bowl, flatten the top and start garnishing. Lay the slices of egg making a decorative circle and sprinkle the remaining parsley and scallions on top. Put in fridge to chill. There’s nothing like chilled potato salad! It’s a beautiful thing!
Now corn. Peel back the husks and lightly butter and salt corn.
Lay the husks back over, covering the corn and pop into oven for an hour or until the yellow color intensifies and corn is tender.
After 1 1/2 hour check that your chicken is cooked. If not leave it for another 30 minutes. But it should be amazingly tender and delicious.
Peek at the ribs. They should be fine, but I rotate mine as my stove tends to have hot spots. You want it to cook it as evenly as possible. Let it cook another hour. After 1 hour remove aluminum foil and rotate once again. Cook for 1 more hour. Once done remove from oven and let rest for 10-15 minutes.
Now that all the work is done, it’s time to enjoy the fruit of your labor.
Oh, and this was Jason’s plate. He hardly even let me take this picture!
I truly hope you all try some of these recipes out. They’re super easy to prepare and promise not to disappoint! Let me know what you guys think. I appreciate all the feed back! Much love! xo
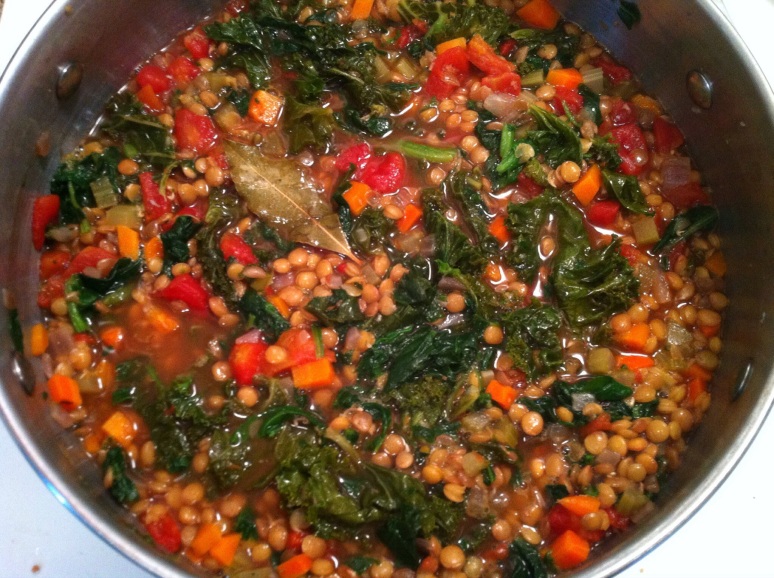
Hearty Kale and Spinach, Lentil Soup
Hello my lovely fellow bloggers and friends!
It’s been a little while since I’ve blogged. So I am extremely happy and ready to share some of my most favorite recipes with all of you! Like my Hearty Kale and Spinach, Lentil soup! This soup is packed full of protein, iron, vitamins and minerals! Also, its absolutely perfect for those cold autumn evenings. ❤
Let's get started, shall we!
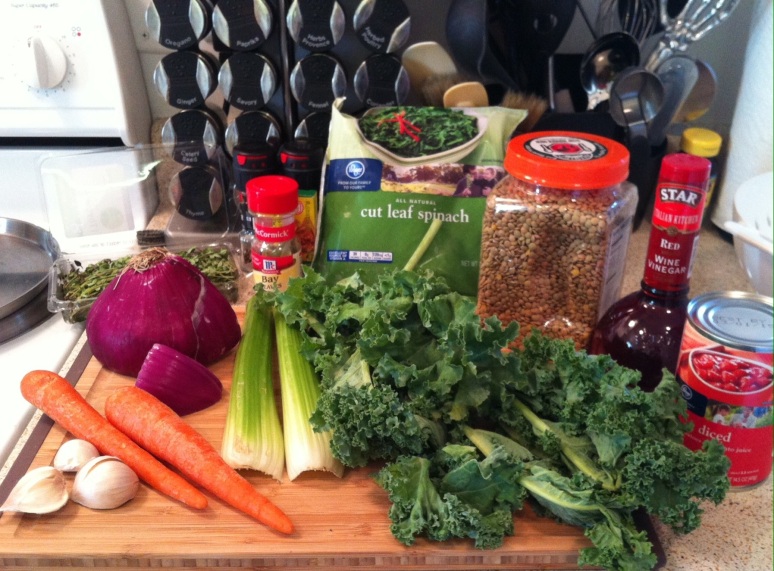
Ingredients:
• 1 onion chopped
• 2 celery stalks chopped
• 2 carrots chopped
• 3-4 garlic cloves chopped
• 2 sprigs fresh thyme minced
• 2 dry bay leaf whole
• 3-4 fresh kale leaves roughly chopped
• 1 small frozen bag spinach
• 1 16 ounce can diced tomatoes
• 1/2 once red wine vinegar
• 1 fresh lemon
• 1 1/2 cup brown lentils
• 4 cups chicken broth or chicken
bouillon.
• salt and pepper
• olive oil
I like prepping all my ingredients before I actually begin cooking. So aside from chopping all my ingredients. I'll wash and drain my kale and roughly chop, and clean and sort lentils. It's just a great way to keep organized and also not forget any ingredients.
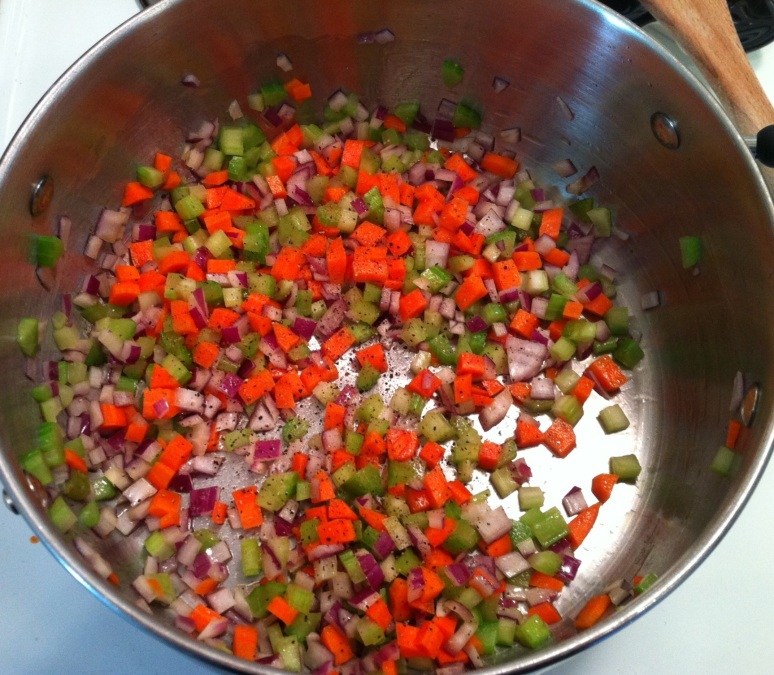
Begin by heating olive oil in a large Dutch oven or pot to medium high heat and add carrots, celery and let them sauté for a couple of minutes stirring occasionally. Now add onions and let them sweat down, stirring occasionally. Add a little salt and pepper. And when I say “little”, I guess about 1/2 a teaspoon salt and pepper. I cook with love and not measuring cups…haha..maybe I’m just a messy cook but after cooking for so long I just eye ball my seasoning. The reason I season my veggies is because as they cook and begin to caramelize, adding salt helps to extract their liquid and intensify the flavor. Once the onions look translucent about 5-7 minutes add garlic and stir frequently, this helps marry all the flavors.
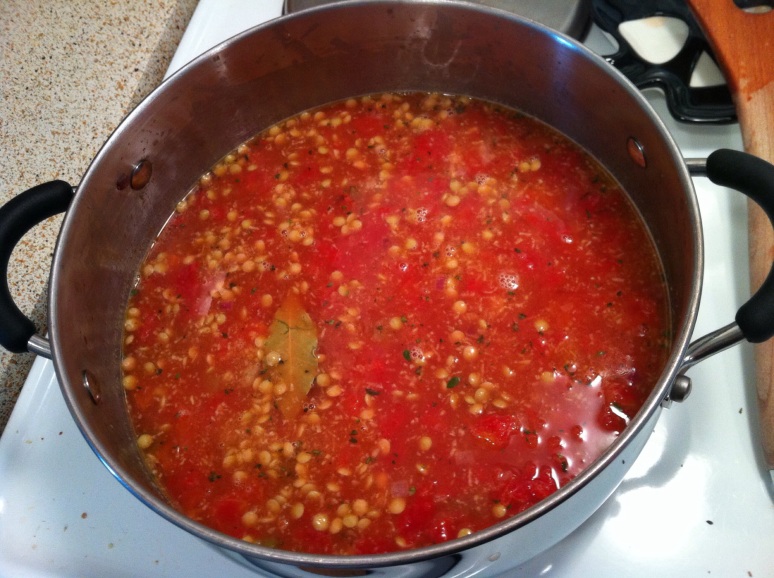
Deglazing. Add canned diced tomatoes and 4 cups chicken broth, (veggie broth if you prefer) and with your spoon scrape up any bits that may have stuck to the bottom. Also add 1-2 cups of water or just enough to fill pot. After rinsing and presorting, add your lentils, bay leaf, thyme and another dash of salt and pepper. Let them cook on medium heat for about 10 minutes.
After 10 minutes add chopped kale and red wine vinegar and let cook for 5 minutes.
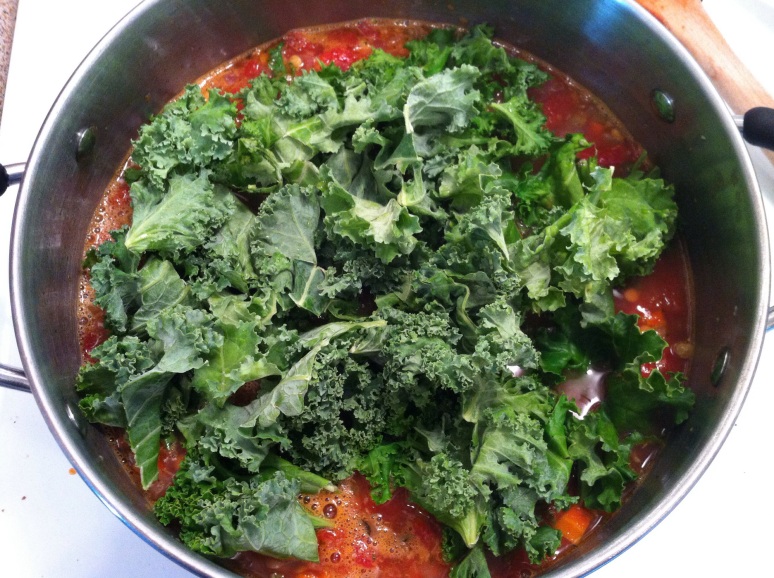
The kale will begin to wilt down nicely.
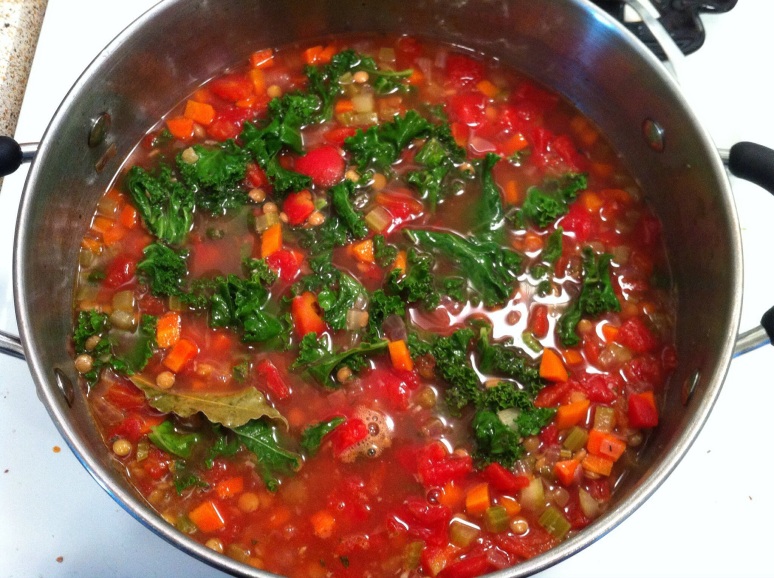
Once 5 minutes pass you can add frozen spinach and cook for an addition 10 minutes.
This soup is very adaptable to your preference. So if you prefer a thicker soup, just cook longer to allow it to reduce. I like doing this because the more liquid you reduce the more intense the flavor becomes. At the very end season with salt and pepper to taste and add fresh lemon juice.
Bacon & Egg Cupcakes <3
I just love these cute and delicious breakfast cupcakes. And they’re soooo easy to make! Perfect for a quick breakfast, or as part of a yummy brunch. You can also cook the yolks so they aren’t runny and it becomes a perfect b-fast on the run!
Ingredients:
- Bacon
- Eggs
- Sliced bread
- Salt & pepper
- Non-stick spray
Begin by partially cooking bacon. It will finish cooking once in the cupcakes molds. Again, my fav way to cook bacon is by laying sliced bacon on a baking rack, popping into a 375 degree oven for about 8-11 minutes.
Hit your cupcake tin with a light coat of non-stick spray and line cupcake molds with a slice of bread. You can break up the bread a little. Just try to mold it as best you can.
Now assemble cupcakes: Cut bacon slices in half and lay over the cupcake molds bending them a little to help them nestle in. Crack egg over cupcake mold and season w/ salt and pepper. You can use paprika, garlic powder, onion powder…red chili flakes…it’s really your personal preference.
Pop them into a 350 degree oven for about 6-11 minutes or until egg and bacon looks cooked through. If you like a runnier egg, cook the bacon a little more the first time so you don’t have to worry about it not cooking enough at the cupcake stage.
aaaand BAMMM! There you have it! Nom nom bacon & egg cupcakes! Who wouldn’t want to eat such a cute and delicious breakfast?
Hope you enjoy this and do share comments. Oh and LIKEY pwease ❤
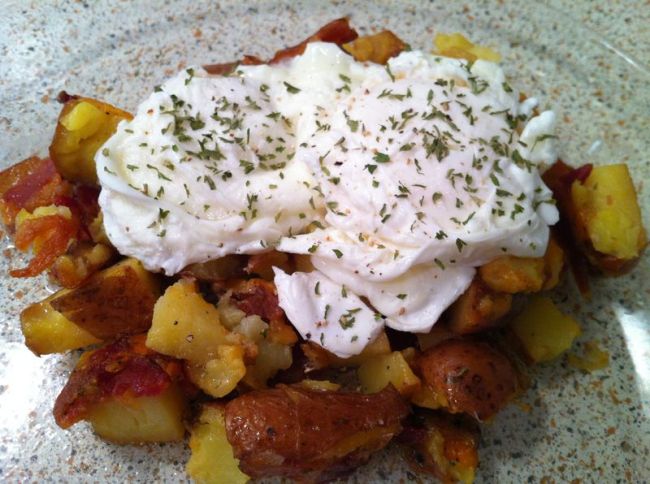
Poached Eggs Over Home-fries
I LOVE LOVE LOVE Brunch! Who doesn’t? Mimosas, eggs, hash…mmm mmm good! But I also know It’s not always feasible to lay out a ginormous banquet. My boyfriend, Jason is on gigs a lot so weekend morning brunches aren’t always possible. That doesn’t mean I can’t enjoy a mini brunch of my own
Lets get to it then:
Recipe calls for:
- About 4-5 baby potatoes (par-boil)
- Cheddar cheese
- Bacon
- 1T Olive oil
- 1/2t Paprika
- 1/2t Garlic powder
- Salt & Pepper
- 2 Large eggs
- 1T Vinegar
Start by par-boiling your baby potatoes. Strain and quarter/half potatoes. On a medium to medium high heat skillet add about 1T of olive oil. Once it’s nice and hot add your potatoes and season w/salt, pepper, garlic powder & paprika.
And by the way, get creative! I often add fresh rosemary, it really works well with this recipe. It’s always fun to mix it up!
At this point, also get a medium sauce pan with water about 3/4 of the way full and bring it to an almost boil. Add about 1T of vinegar. I use white vinegar or if I am out, I have even used apple cider vinegar. It doesn’t really matter. The vinegar is to help the egg whites coagulate as you poach them.
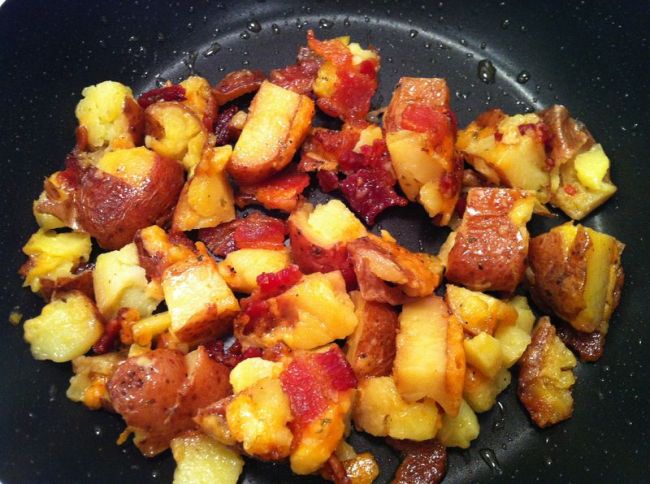
Back to taters: I had bacon already cooked but if you don’t, I just throw about 2-3 slices in the oven on a baking rack and cook from 13-17 minutes at 375 degrees or until bacon is nice and crispy. Nom nom. Roughly chop bacon and add to sizzling potatoes and let them make out for about 5-7 minutes. Basically you want the potatoes to create a golden brown crust and finish fully cooking and the flavors to marry. Toward the end add cheddar cheese. Add till your heart’s content. Or I add till about as much as I am willing to invest on my elliptical! LOL. And that concludes the home-fries, set it to low so they keep warm. I like to add some fresh flat leaf parsley, roughly chopped at the end for a fresh taste.
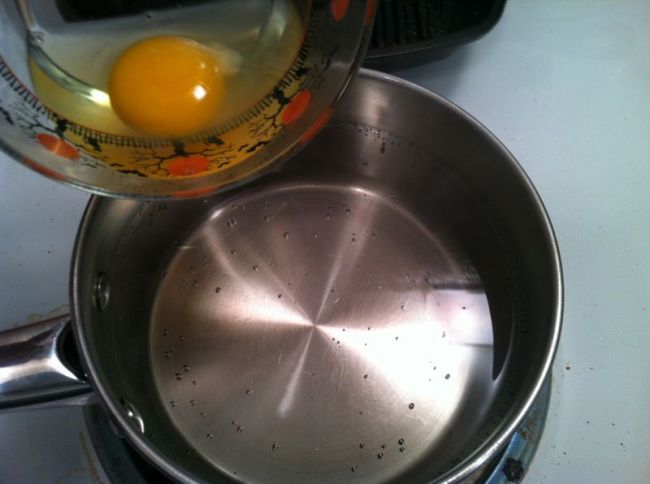
Poached eggs: Now the water should be almost boiling. Crack egg into a small bowl. That way you’re not burning your fingers when pouring into water. Gently pour the egg into water and with the back of a spoon create a very soft, gentle whirlpool in the center of water so the egg almost wraps into itself. You can poach about 2-3 eggs at a time. Don’t get them too crowded. Poach eggs for about 3 minutes. The fresher the egg the better! So go fresh!
This is a perfect time to plate your home-fries. Once egg is done use a spoon with holes to scoop egg, drained and serve gently over the home-fries.
Garnish with parsley and voila! ENJOY!
Hope you all can enjoy my delicious brunch for one. This goes oh so well with a chilled glass of mimosa or two.
Please like & feel free to comment and let me know what you think. Have an awesome weekend! I know I am ❤
So I started the day like this:
I love all the Alien movies, but Aliens is my all time favorite! And Hudson best expresses how I feel about this Friday!
So I started the day like this:
“How do I get out of this chickenshit outfit?”
-Hudson
Only to quickly turn into this:
GAME OVER MAN!!! GAME OVER!!!!
-Hudson
HURRAH for the weekend!!!! ❤
Follow me on Blog Lovin :) <3
<a href=”http://www.bloglovin.com/blog/6322255/?claim=an32kp2gxyh”>Follow my blog with Bloglovin</a>
Home made ginger, mint & orange infused herbal tea
I have recently discovered the joy of making my own home made herbal teas. My favorite is ginger, mint & orange infused herbal tea. I love making it in huge batches, it makes the house smell amazing and our tummies even better. Oh and it’s super easy too.
For a large pot, bring water to a boil and reduce to low heat. Then add ingredients. Take about half a bunch of mint (chopped). Peel about 1/4 cup worth of ginger. I like to cut some into small pieces and also take about a nubs worth and use my microplane to really break up the ginger into the water. Then take your microplane and zest about half a small orange making sure to only grate the peel. Not the bitter white part beneath. At this point, remove from heat and let it steep for a while (+/-30min). At the end add honey to taste. I personally don’t have much of a sweet tooth so I don’t go to heavy on the honey. You can either strain it and store in the fridge or like I enjoy it, with leaves and all, hot.
There you have it. Easy peasy. Hope you enjoy this delicious and healthy alternative to a soda pop. This is my first official blog, hope you like it. I will have many more awesome and delicious blogs to come. ❤
-
Recent Posts
Recent Comments
Archives
Categories
Meta

